How to draw a butterfly
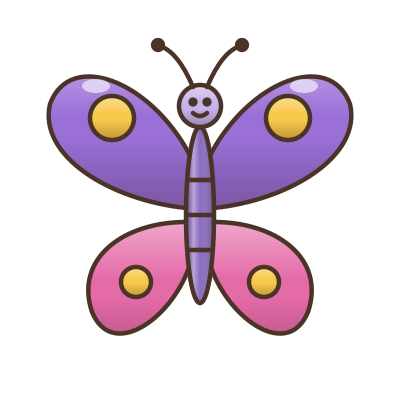
A butterfly is the same on both sides. Seven steps. Get a pencil and paper, and tap Next for each line.
Step 1 of 7. Draw a long thin oval for the body.
All 7 steps
Here is every step at once. The blue lines are the new ones; the dark lines are already on your paper. Draw lightly at first, so you can rub out a line you don’t like.
1. Draw a long thin oval for the body.
2. Draw a small circle on top for the head.
3. Add two curly feelers with dots on the ends.
4. Draw two big wings at the top.
5. Draw two smaller wings at the bottom.
6. Put round spots on the wings, the same both sides.
7. Add a happy face and stripes on the body.
A tip for drawing a butterfly
Whatever you draw on one wing, draw the same on the other: that is called symmetry. Turn the paper round if it helps. The top wings are bigger than the bottom ones, and the spots go in the same place on both sides.
Change it up
Once your butterfly is down, make it yours:
- Use different colours on top and bottom.
- Draw a flower for it to land on.
- Add hearts instead of spots.
Draw another
More in animals, or see all 40 things to draw. Want to draw freehand instead? The Art Studio has crayons, paint and a fridge to hang it on.
How it was made: Peabody drew this butterfly in code, line by line, from its own shapes; it is not traced from anyone’s lesson or picture, and it is nobody’s character. Checked 6 November 2026.