How to draw a tree
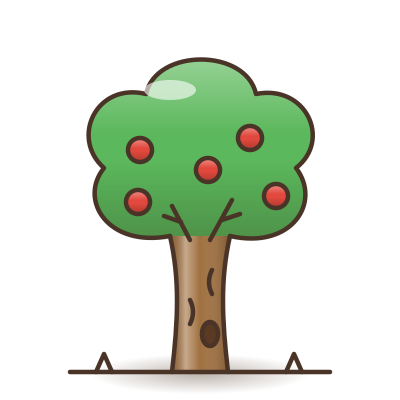
A big apple tree, like a cloud on a trunk. Six steps. Get a pencil and paper, and tap Next for each line.
Step 1 of 6. Draw two lines going up for the trunk.
All 6 steps
Here is every step at once. The blue lines are the new ones; the dark lines are already on your paper. Draw lightly at first, so you can rub out a line you don’t like.
1. Draw two lines going up for the trunk.
2. Draw a big bumpy cloud on top for the leaves.
3. Add a few little branches inside.
4. Draw round apples in the leaves.
5. Add bark lines and a knot hole on the trunk.
6. Draw the ground and some grass.
A tip for drawing a tree
Make the trunk a little wider at the bottom than the top, and let the bumps of the leaves go all the way round. A big bump on top and smaller ones on the sides looks like a real tree shape.
Change it up
Once your tree is down, make it yours:
- Make it an autumn tree with orange leaves.
- Add a swing on a branch.
- Draw a bird's nest.
Draw another

More in outside, or see all 40 things to draw. Want to draw freehand instead? The Art Studio has crayons, paint and a fridge to hang it on.
How it was made: Peabody drew this tree in code, line by line, from its own shapes; it is not traced from anyone’s lesson or picture, and it is nobody’s character. Checked 6 November 2026.